We hope you love our recommendations! Some may have been sent as samples, but all were independently selected by our editors. Just FYI, BuzzFeed and its publishing partners may collect a share of sales and/or other compensation from the links on this page.

Hi, I'm Valeza and I'm obsessed with painting my own nails.

You'll be impressed to know my skills have *slightly* improved since age three, and I just don't see the point of paying for something I can do perfectly well on my own! Needless to say, the past few months of lockdown have only served to encourage my side hustle as an amateur self-manicurist.

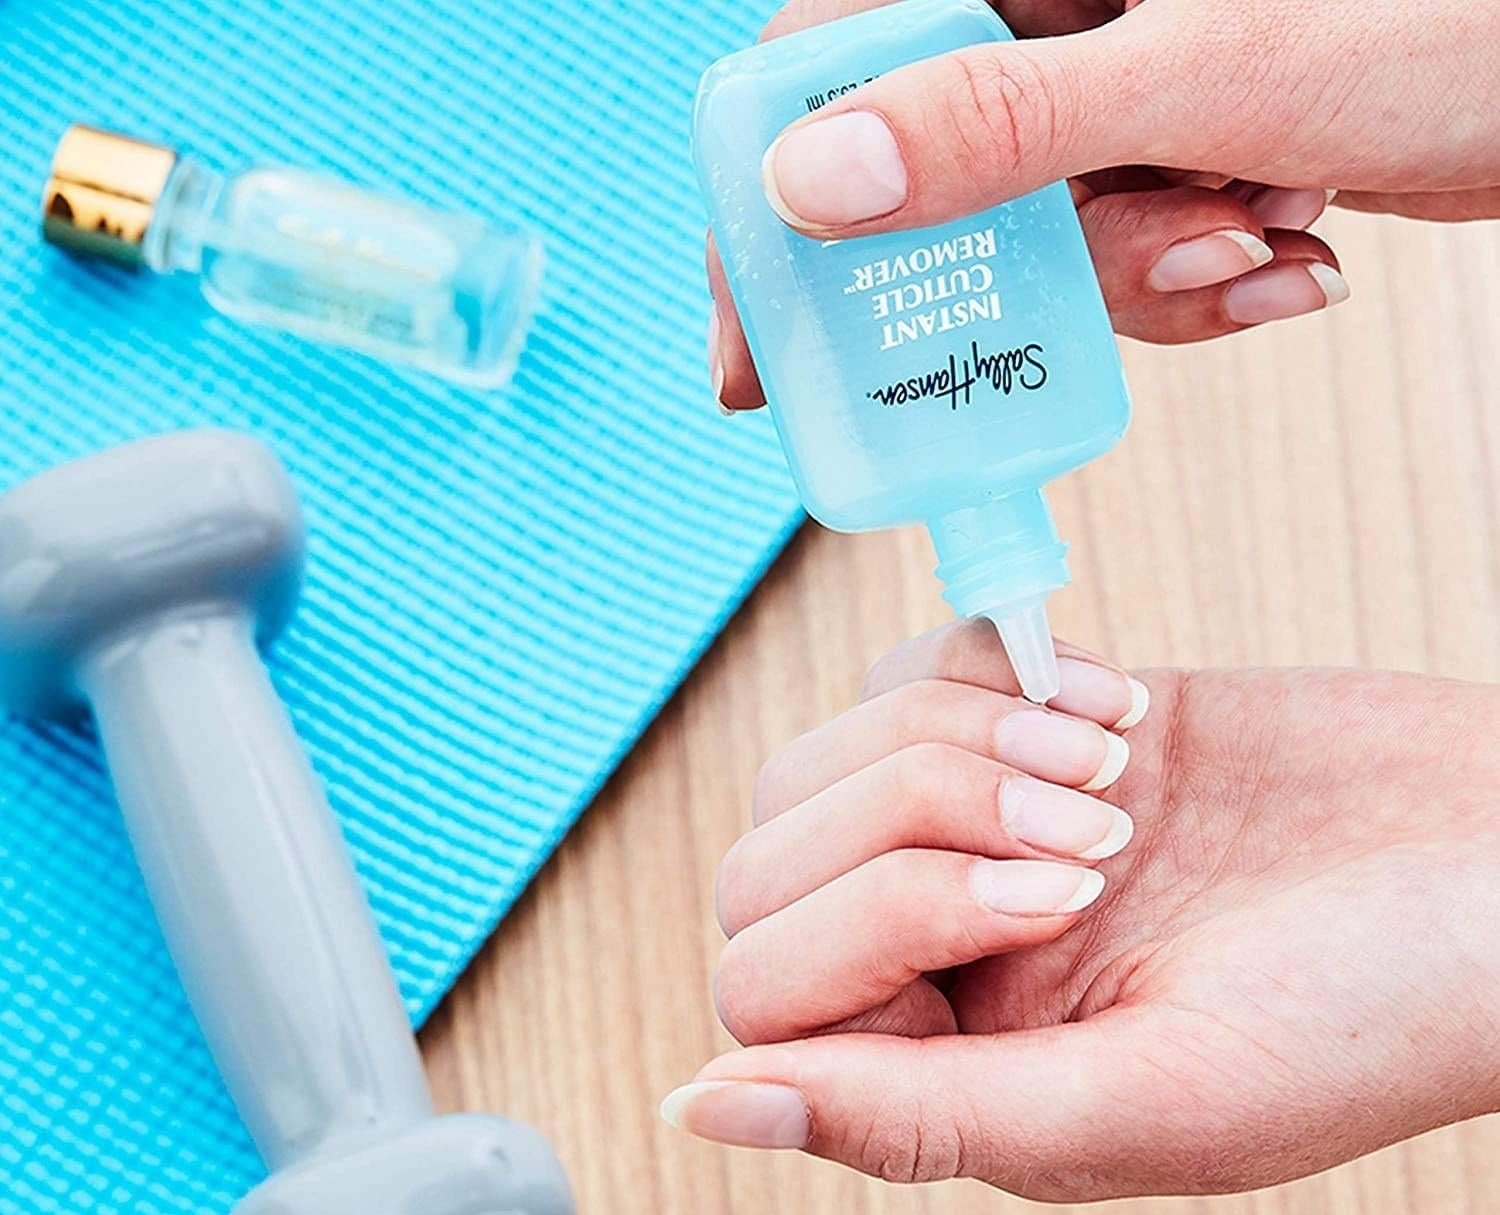
I'm always on the hunt for products that can make my at-home manicure experience quicker, easier, and more effective – so when I heard that there's a gel that painlessly dissolves your cuticles in mere seconds, you know I had to give it a try!
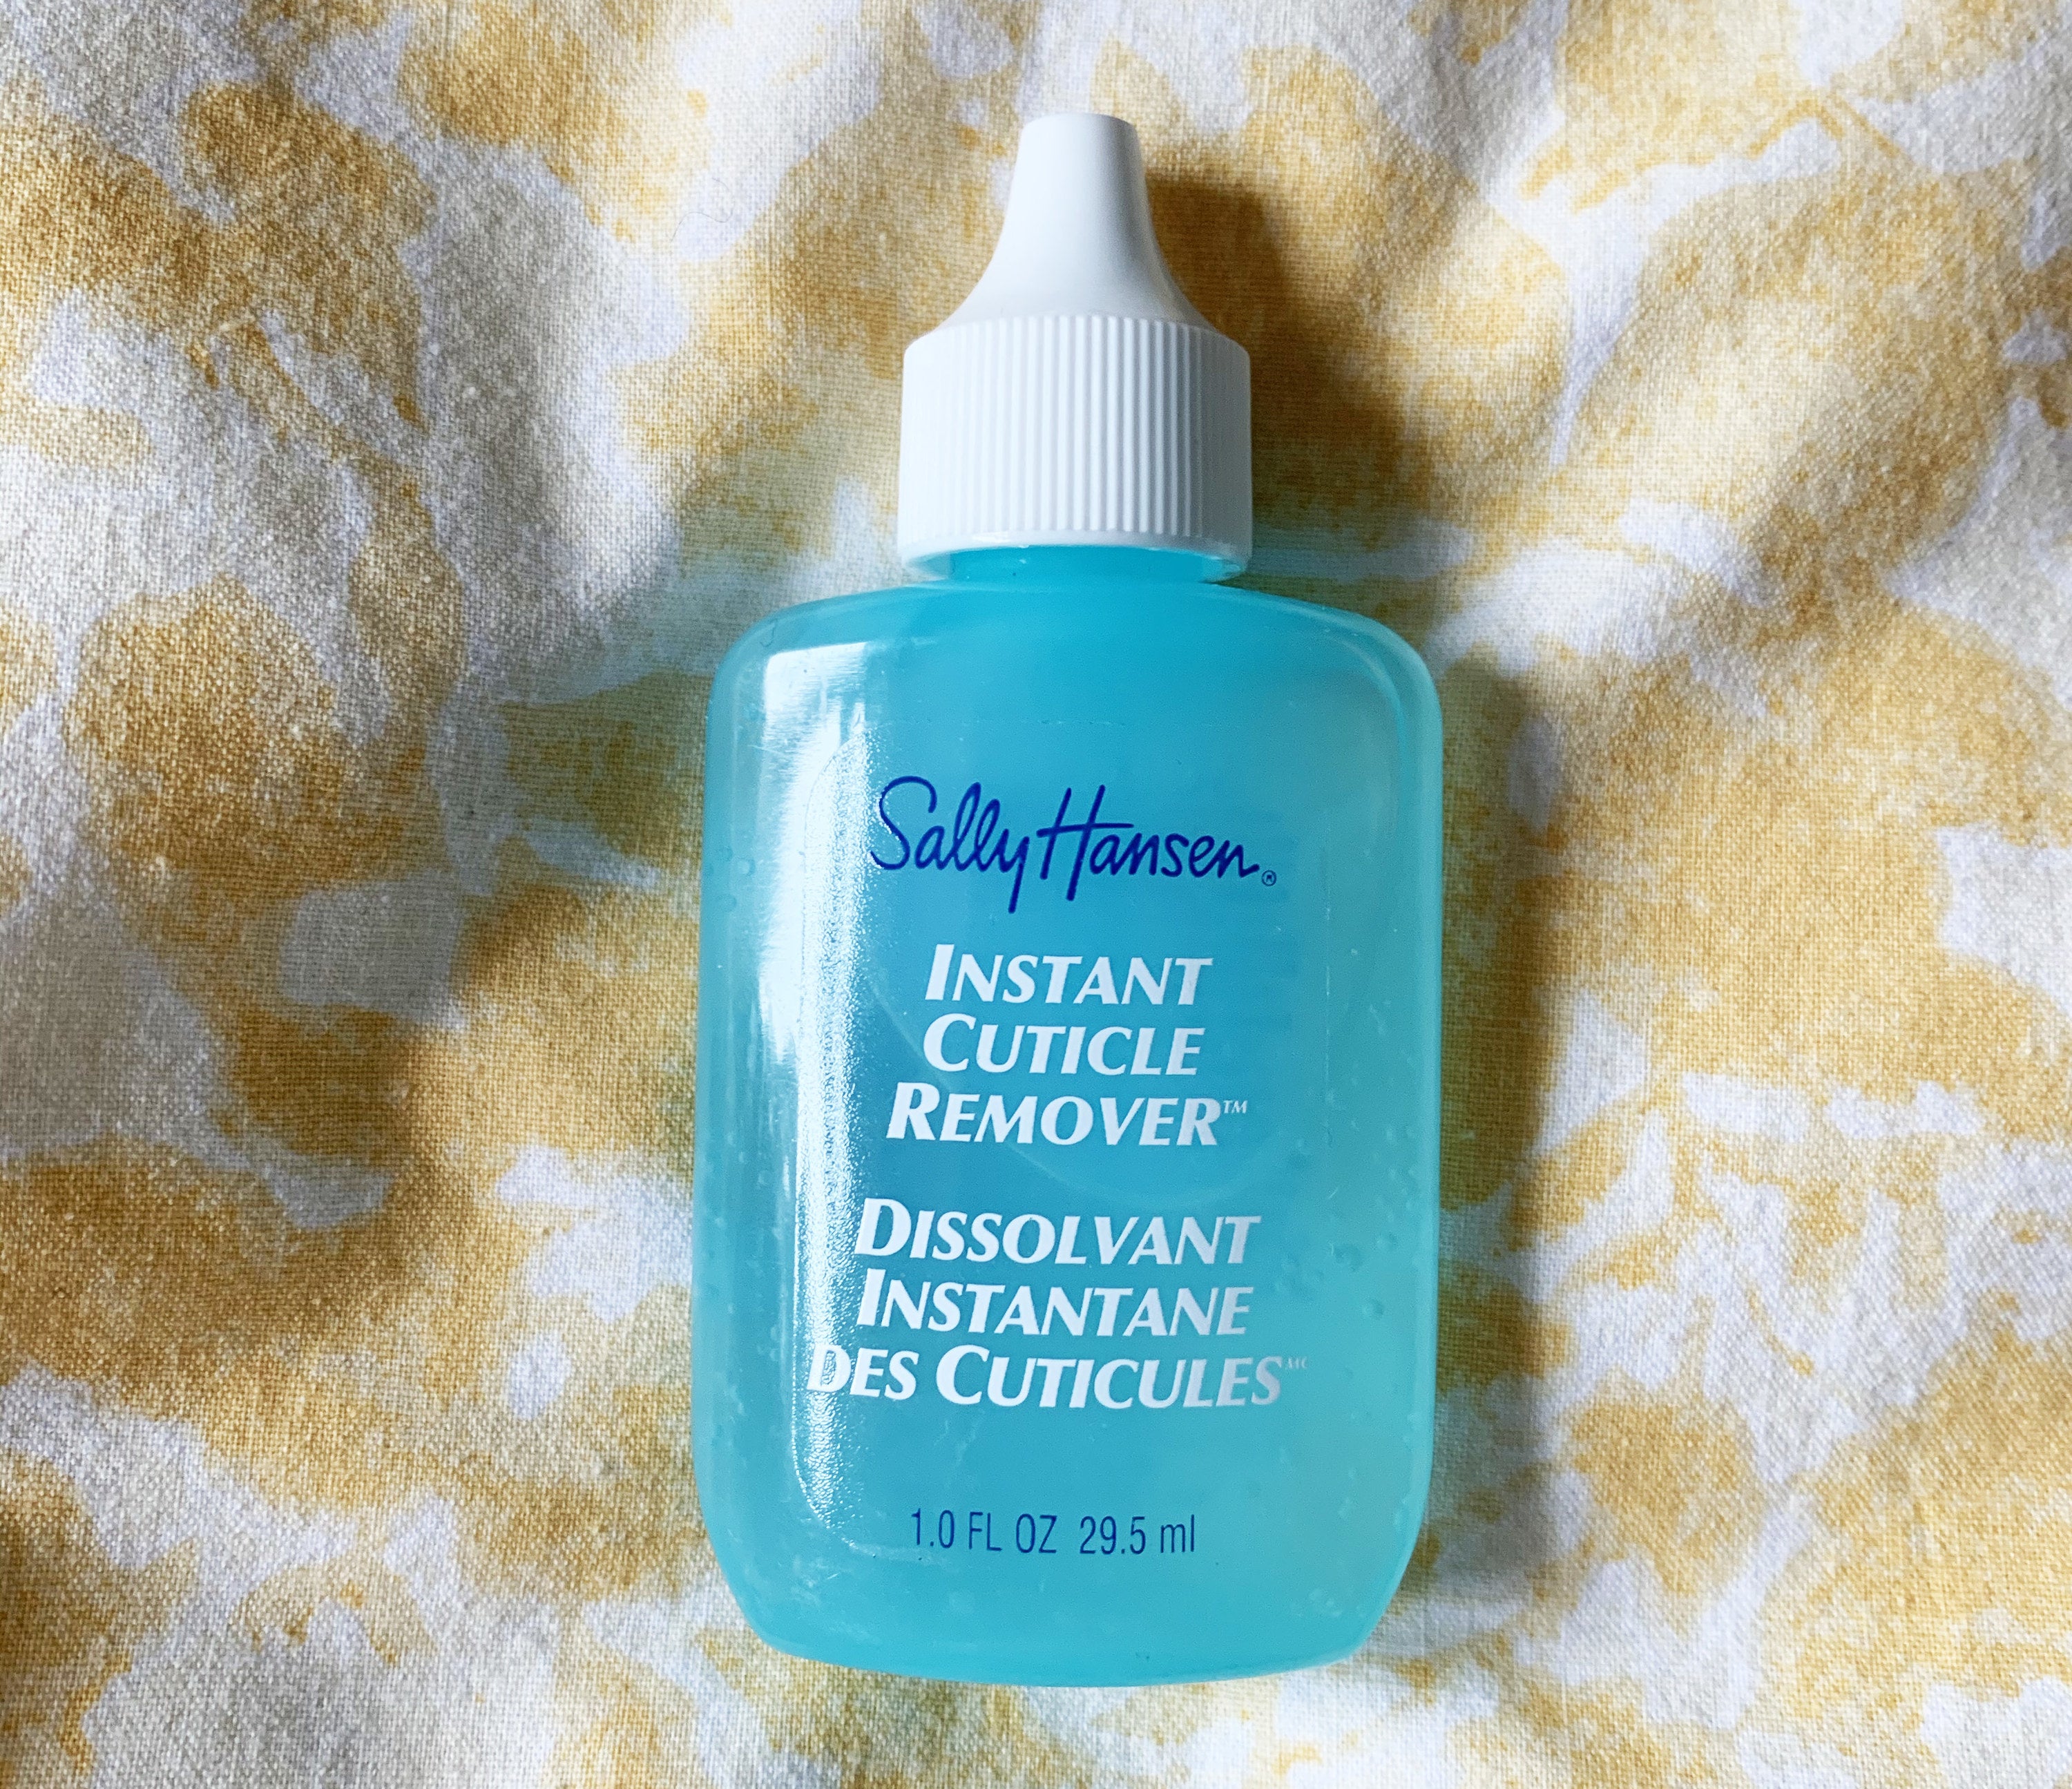
The Sally Hansen Instant Cuticle Remover gel promises to soften dry, overgrown, and messy-looking cuticles in as little as 15 seconds! You should then be able to simply rub off and wash away the excess skin, leaving behind smooth nail beds and the perfect base for your next mani! Here's what happened when I tried it out…
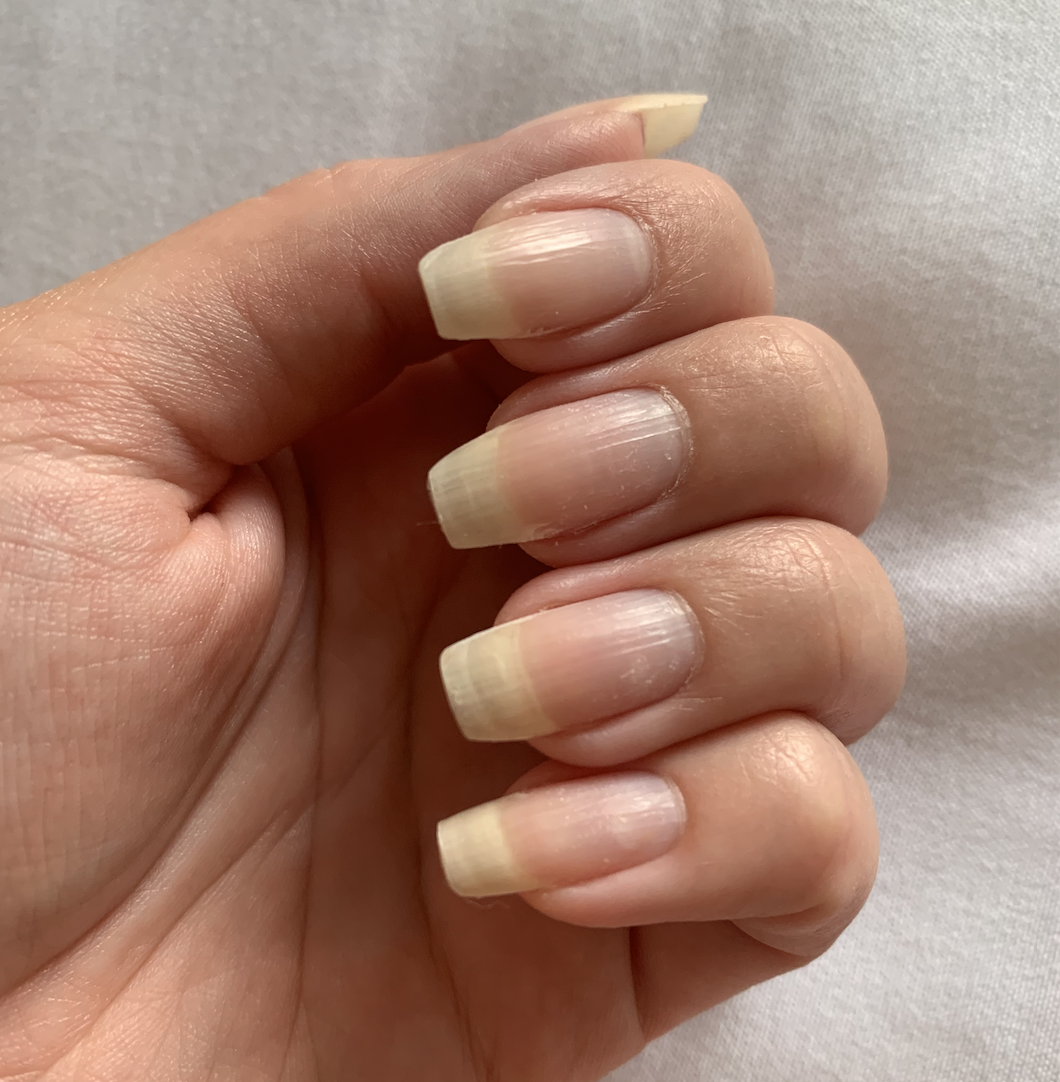
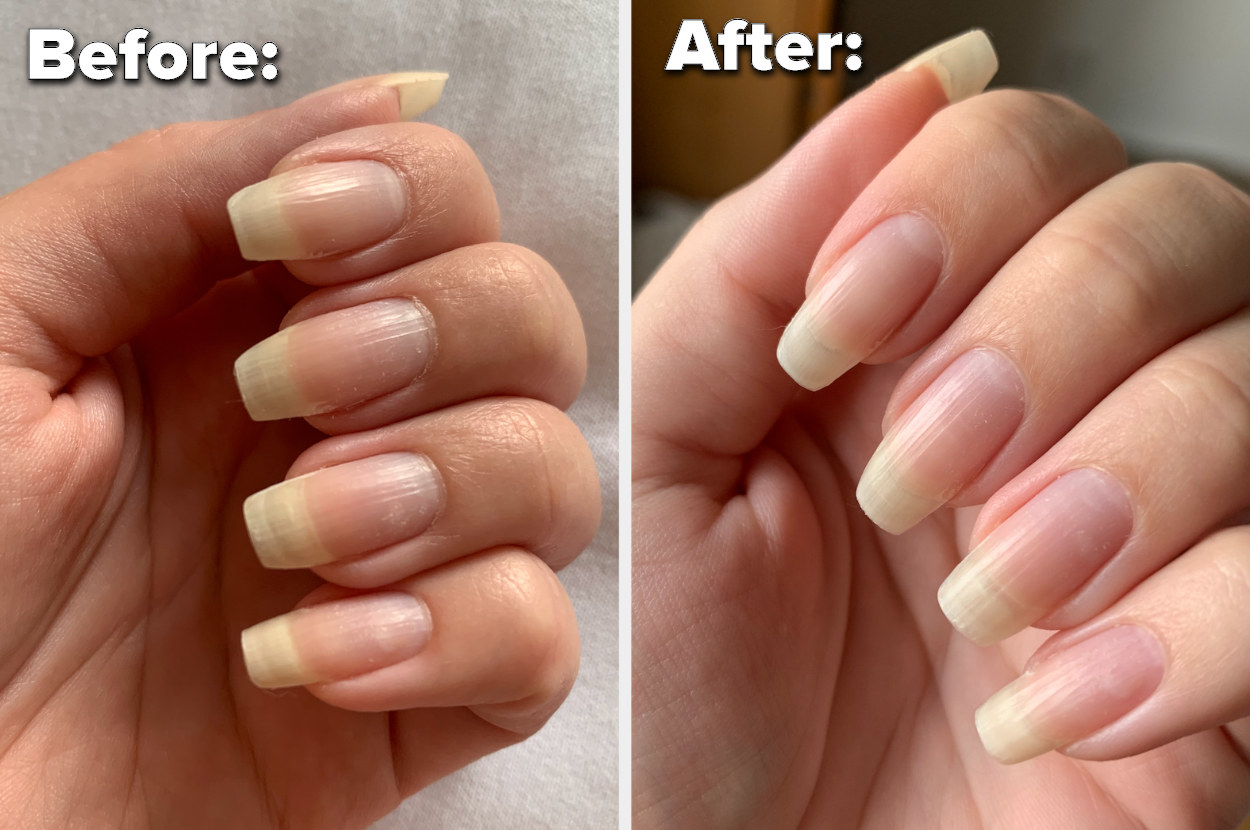
This is how my nails and cuticles looked without any nail polish and before the cuticle treatment:
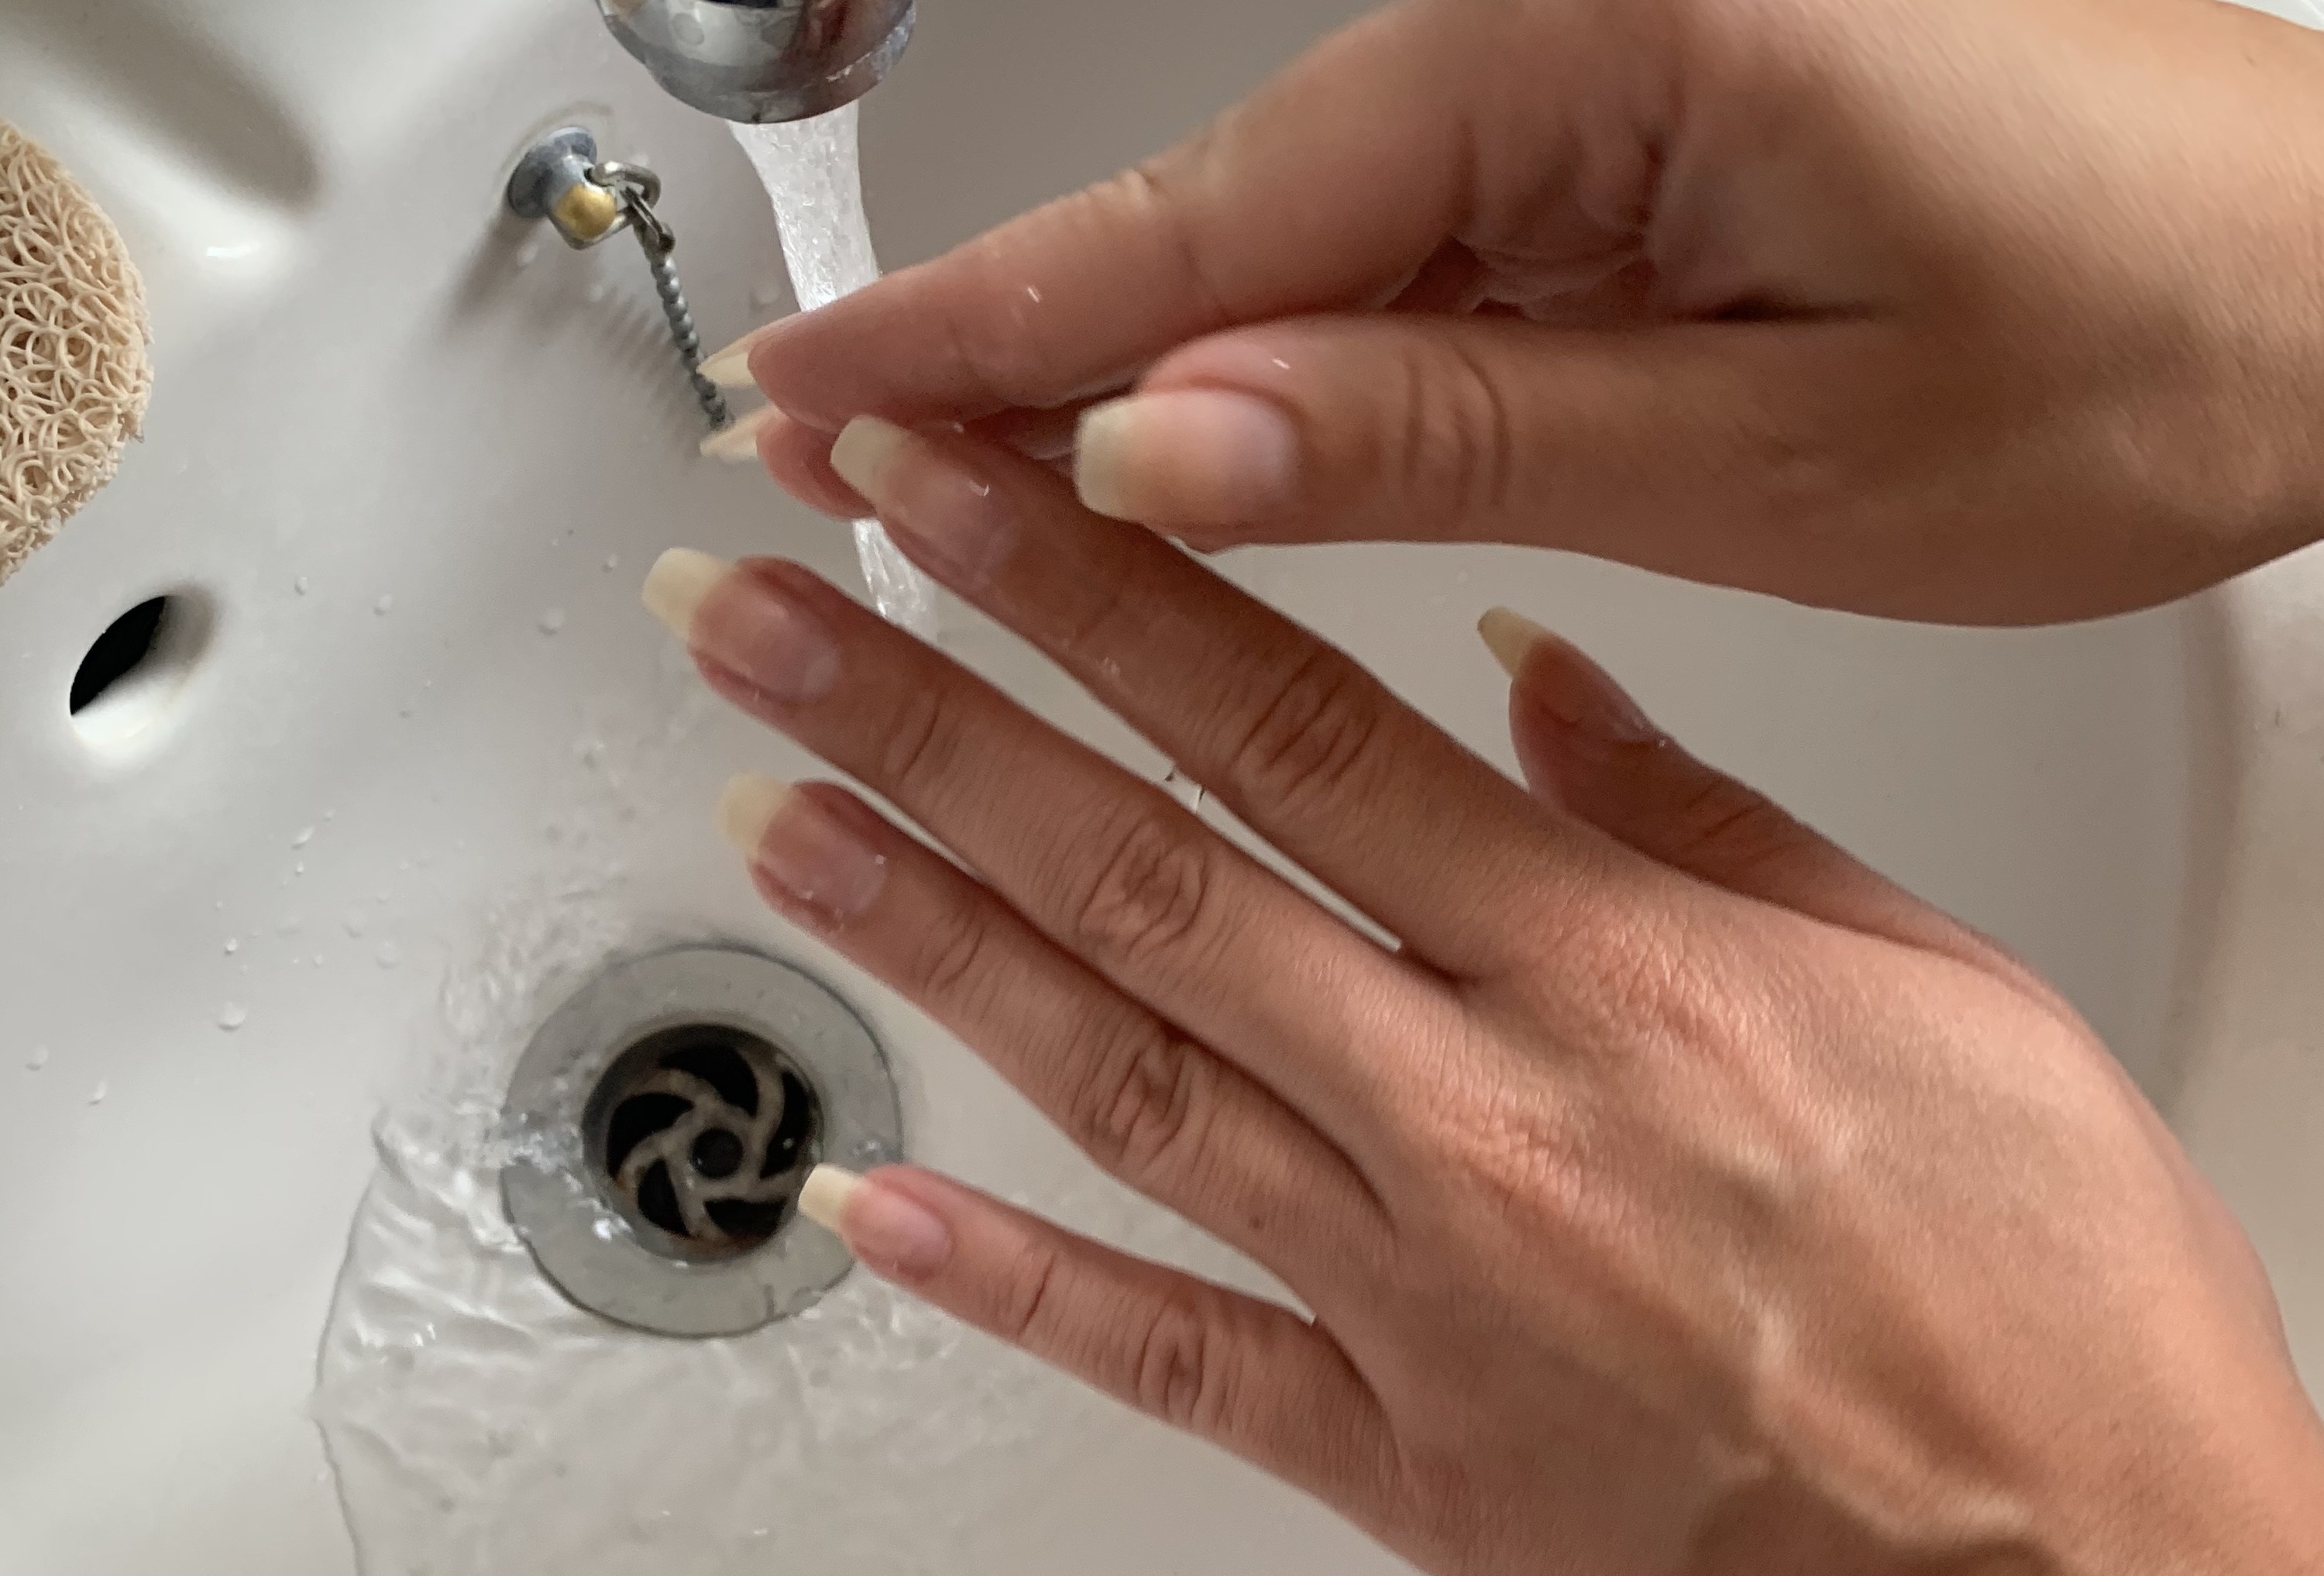
I applied the gel to each of my nail beds in turn with the easy-to-use applicator.
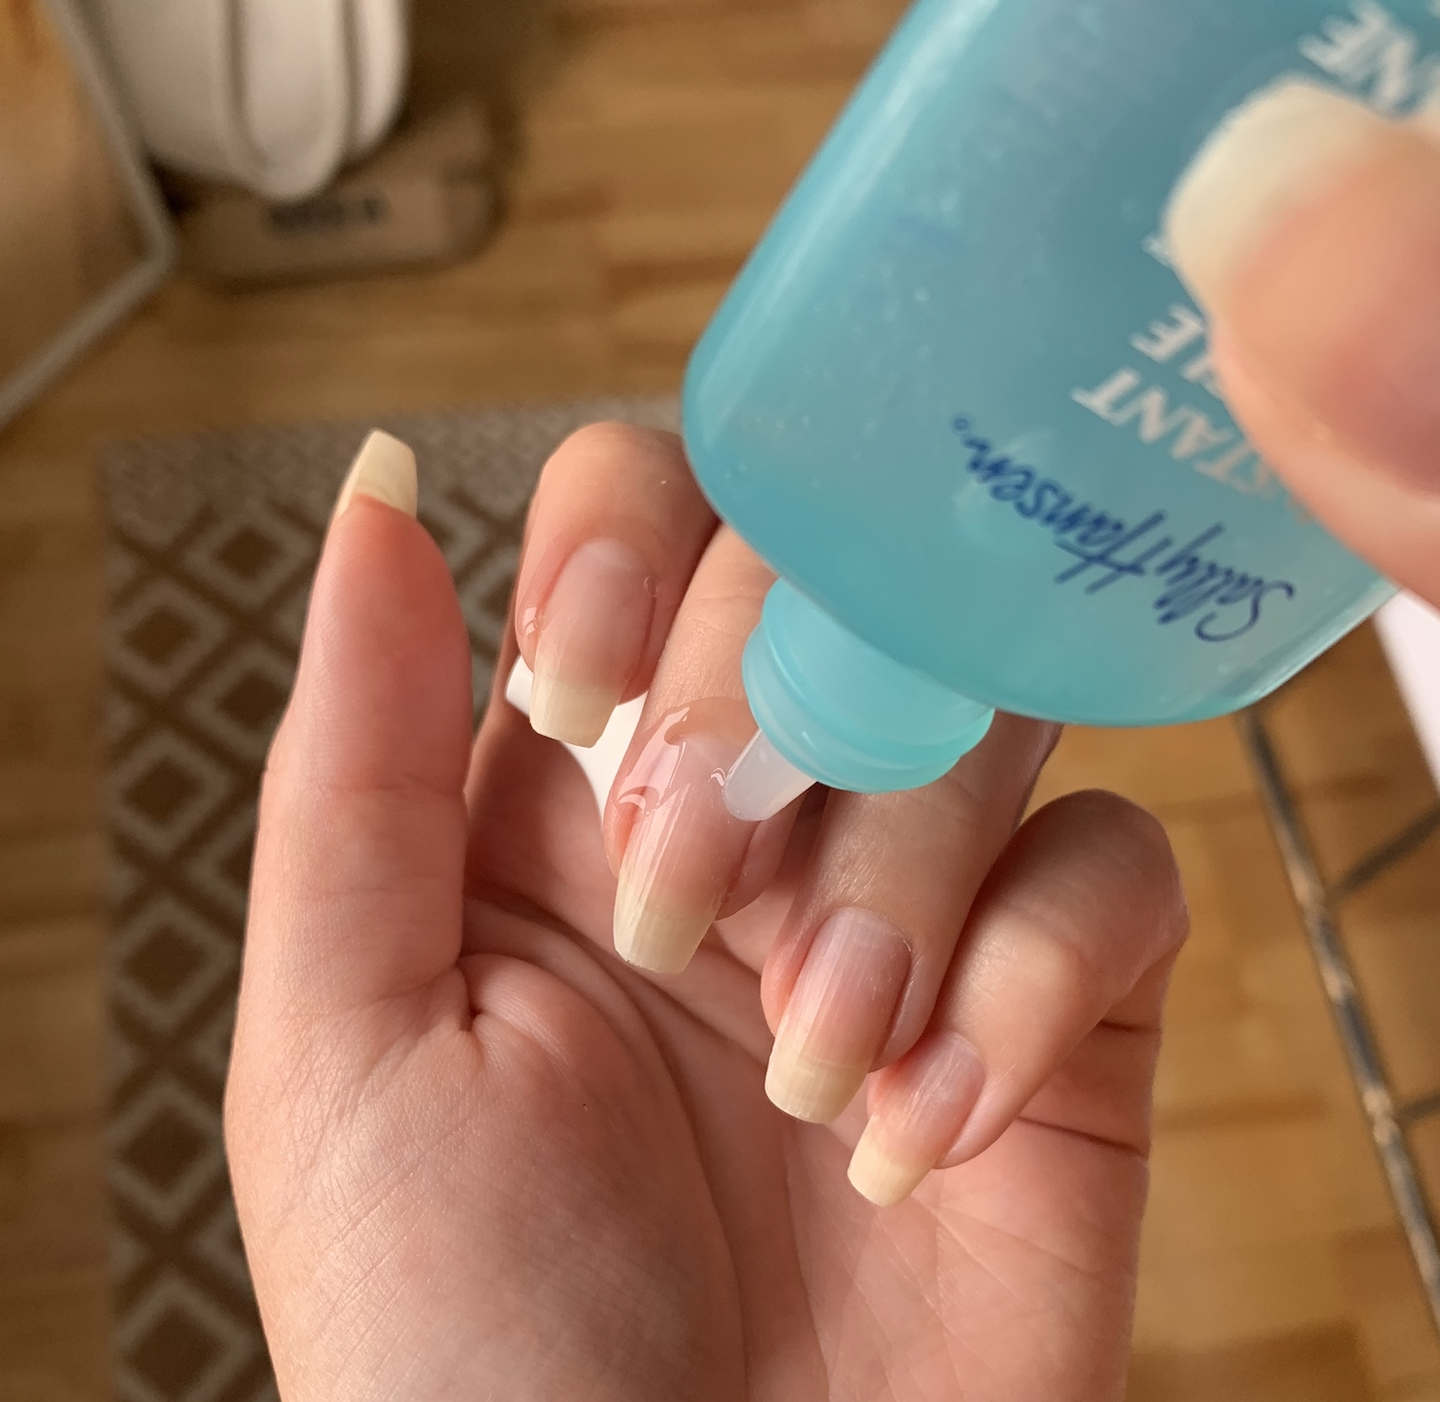
The non-sticky formula didn't hurt or sting at all – it actually had quite a nice cooling effect! I left it on for around 30 seconds rather than the advertised 15 (the instructions say you can leave the gel on for up to a minute) as I had to ask my mum to snap these snazzy pics.
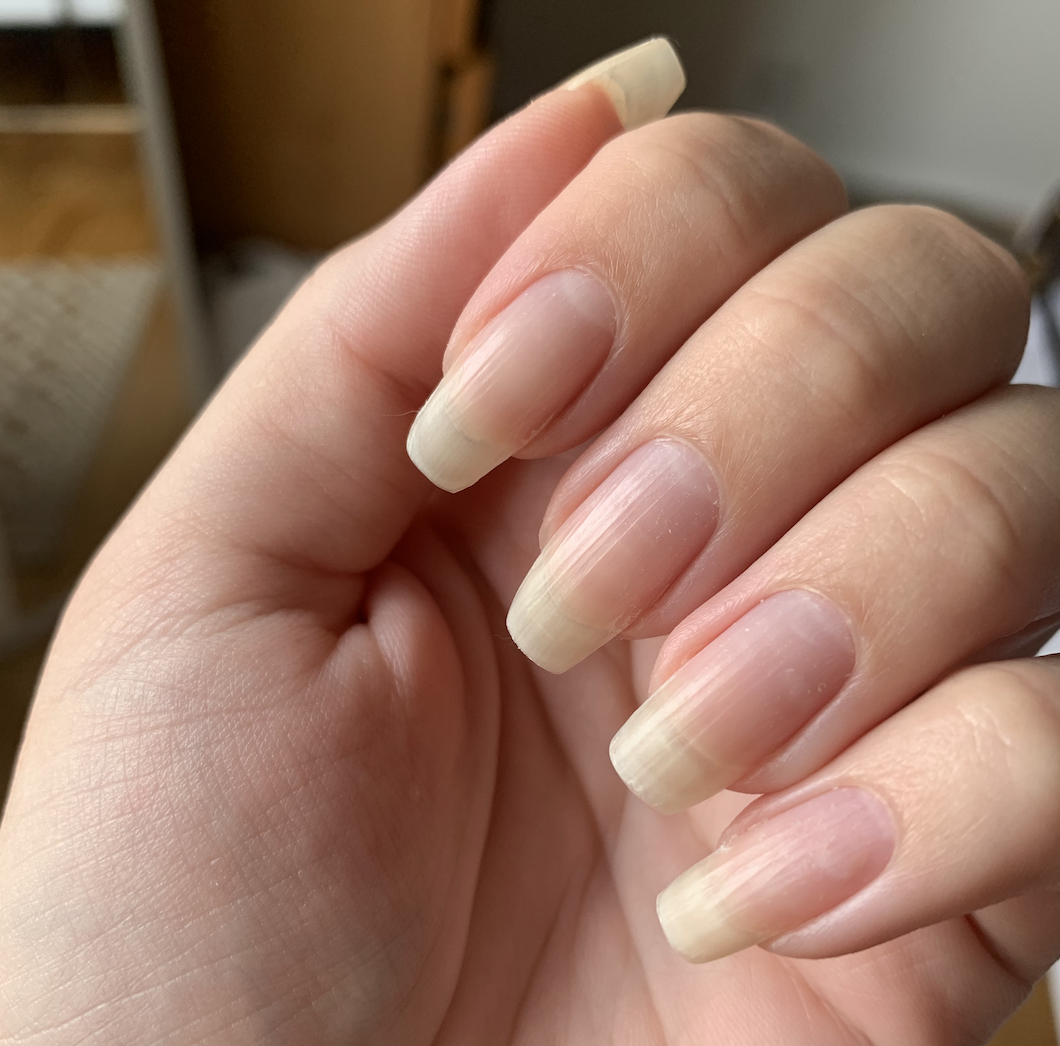
I then washed the formula off with warm water, making sure to rub the nail beds properly!
Now for the satisfying part – I used my nails to gently scrape any excess skin away and push what was left of the softened cuticles back.

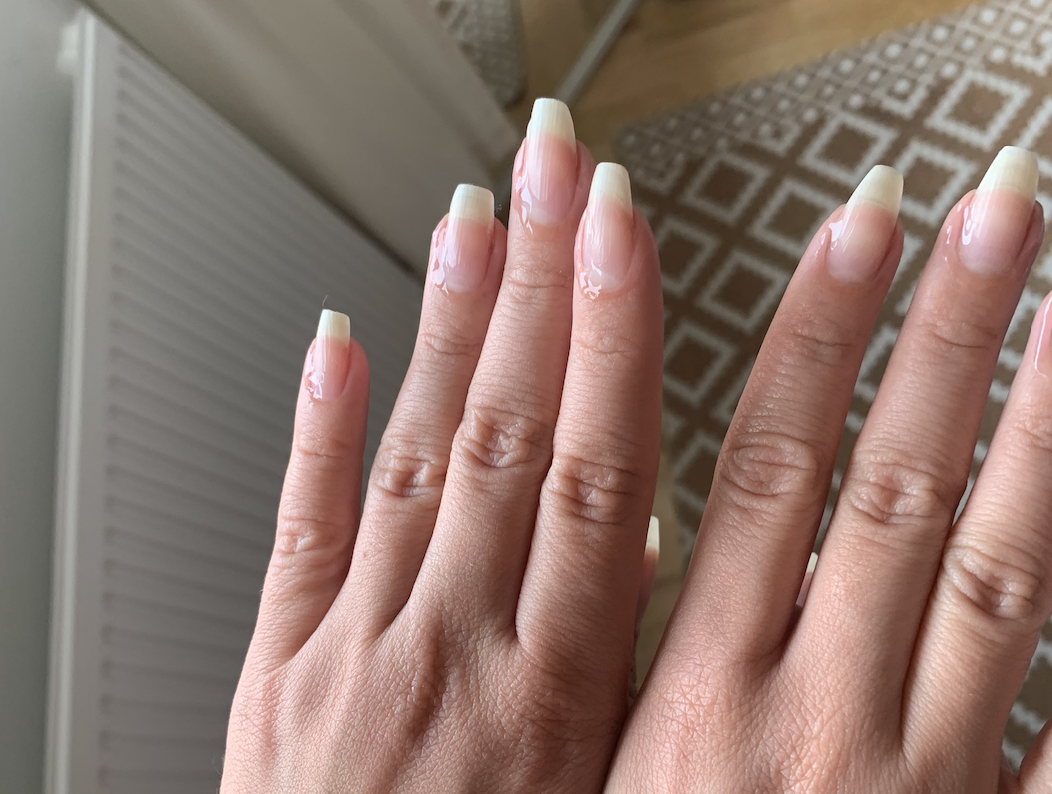
I then washed off any ~residue~ with warm water and this is how my nails looked once they had dried:
If you're not *quite* convinced just yet, then I urge you to take a look at this direct before and after comparison (bearing in mind these pictures were taken less than two minutes apart!!)
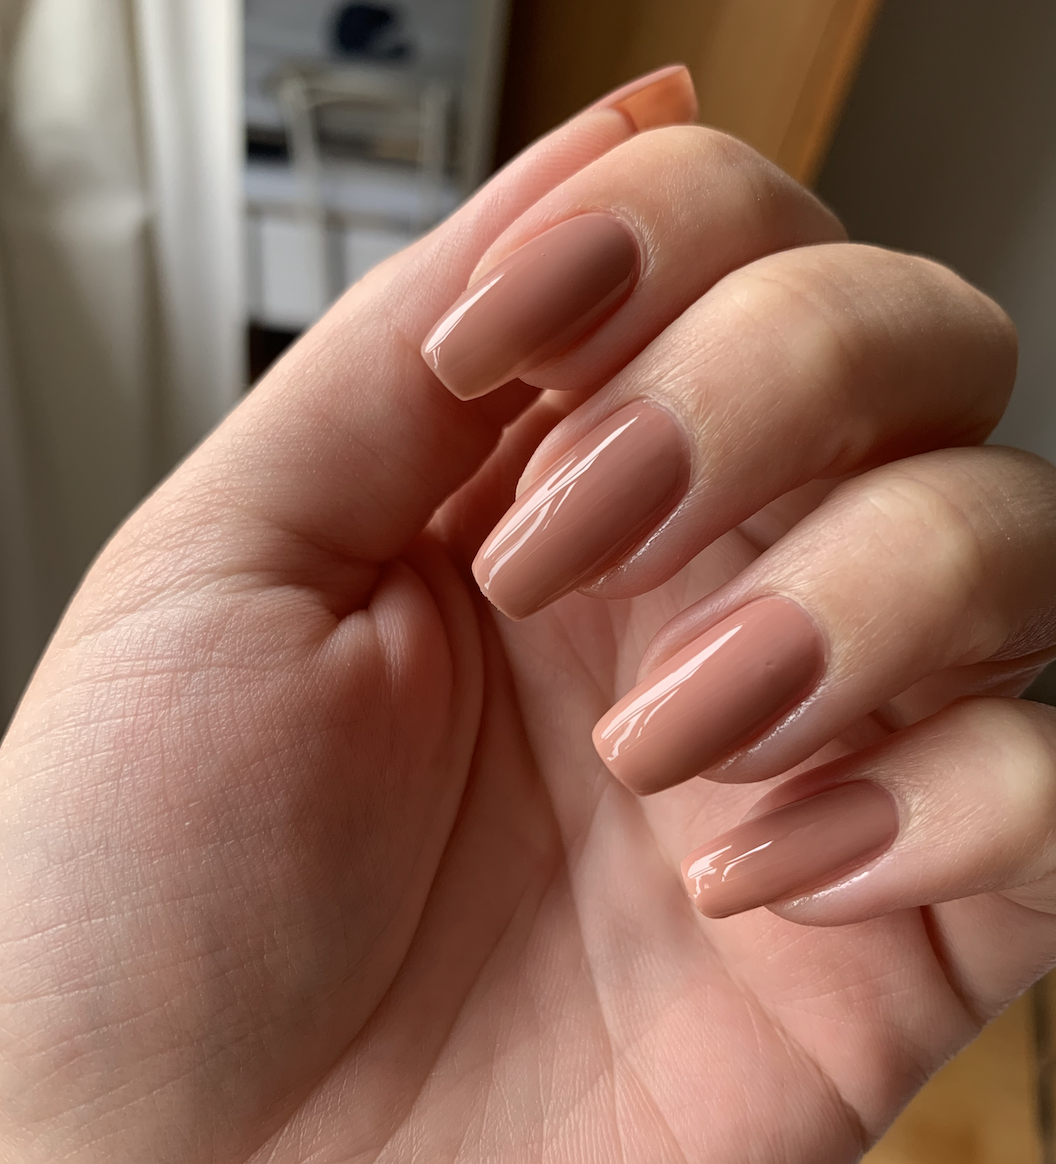
And here's how my completed manicure looked (I used two coats of the Maybelline gel nail colour in Rose Poudre):
I think you can probably tell by now that I am OBSESSED with this lil' cuticle remover, which has now earned a place in my DIY manicure kit! It's surprisingly cheap, super easy to use, and genuinely reduces the excess time it usually takes to get my nails looking this smooth and tidy!
Now go ahead and enjoy your super-speedy DIY manicure!
